Step-by-Step Process of Die Cast Tooling
1. Mold Preparation
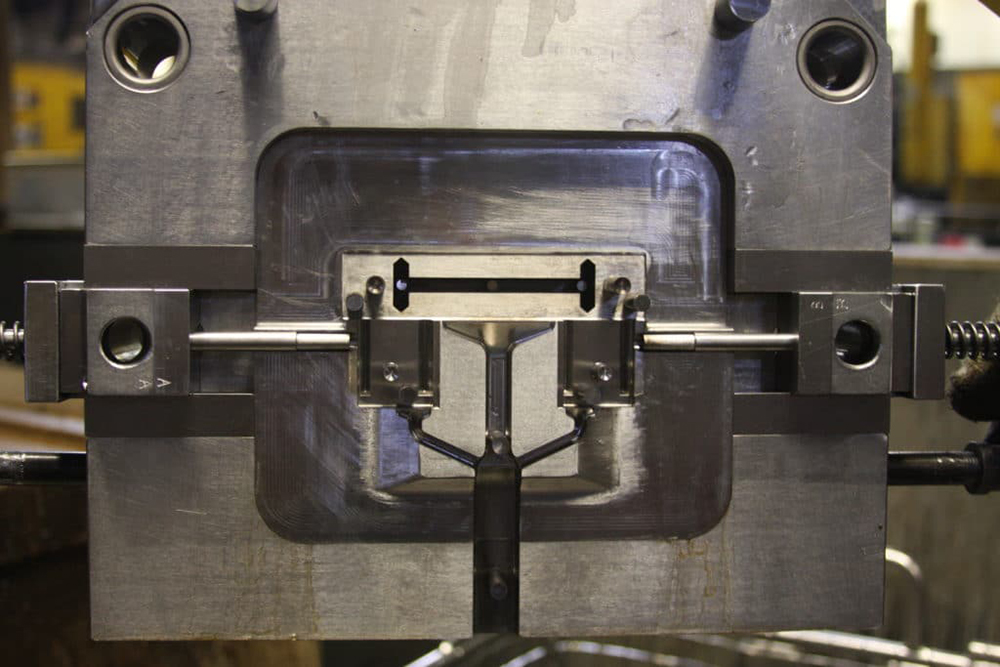
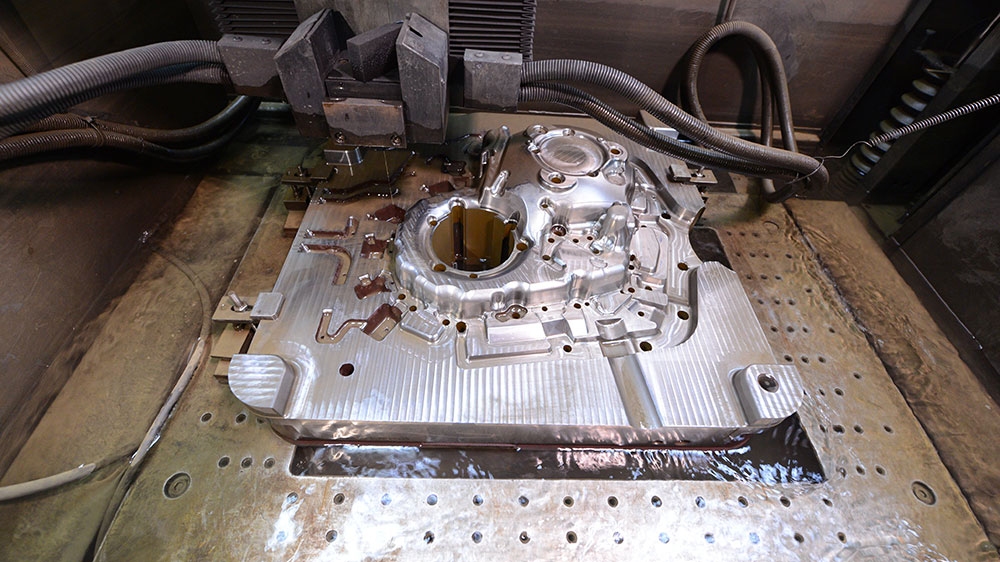
The mold preparation stage is crucial for achieving high-quality cast parts. Selecting the appropriate mold type depends on your production needs. For instance, single-cavity molds are ideal for producing one part per cycle, ensuring detailed precision for smaller production runs. Meanwhile, multi-cavity molds enhance productivity by creating multiple identical parts simultaneously. If versatility is required, combination molds allow multiple part designs in a single mold. For intricate parts requiring inserts or thin walls, unit molds provide specialized solutions.
Once the mold type is selected, cleaning and preheating the mold are essential steps. Cleaning removes contaminants that could compromise the metal’s flow or result in defects. Preheating the mold stabilizes its temperature, minimizing the risk of thermal shock, which can cause cracks or surface imperfections. This preparation ensures optimal metal flow and enhances the mold’s durability.
2. Injection Process
The injection process varies based on the type of metal being used. For hot chamber die casting, commonly applied with low-melting metals like zinc and magnesium, molten metal is drawn directly from the machine’s furnace into the mold cavity. This method offers rapid production cycles and minimizes manual handling, making it ideal for producing small to medium-sized components efficiently.
In contrast, cold chamber die casting is designed for metals with higher melting points such as aluminum and copper. Since these metals require extreme heat, molten metal must be manually ladled into the cold chamber before being injected into the mold under high pressure. While this process takes slightly longer than the hot chamber method, it ensures the durability and strength required for large, robust parts used in demanding industries like automotive and aerospace.
3. Cooling Phase
The cooling phase is vital for ensuring the newly injected molten metal solidifies correctly within the mold cavity. During this stage, the mold remains closed as the metal cools and hardens into the desired shape. To minimize shrinkage, controlled pressure may be applied throughout the cooling process, ensuring uniform dimensions and reducing internal stress in the final part. Proper cooling timing is essential—if cooled too quickly, the part may develop cracks or distortions, while excessive cooling time can reduce production efficiency. Carefully managing the cooling phase is key to achieving consistent, high-quality results.
4. Ejection
Once the metal has fully solidified, the part must be removed from the mold. This is achieved using ejector pins, which push the hardened metal component out of the mold cavity. To facilitate smooth ejection, mold designers often incorporate draft angles — slight tapers that help the part release without resistance. Additionally, proper mold lubrication minimizes friction, reducing wear on the mold and extending its lifespan. Ensuring the ejection process is seamless is crucial for preventing damage to the part or mold, especially in high-volume production environments.
5. Trimming and Finishing
Once ejected, the metal part typically contains excess material known as flash, which occurs where the mold halves meet. This excess material must be removed through trimming, ensuring the part meets precise dimensional tolerances. Depending on the complexity of the component, trimming may be performed manually, using specialized cutting tools, or through automated processes for improved efficiency. In some cases, additional finishing steps such as grinding, polishing, or coating may be required to enhance surface quality, improve durability, or prepare the part for assembly. Proper trimming and finishing are essential to achieving a professional, defect-free final product.


